
Understanding Vapor Barrier Installation
What is a Vapor Barrier?
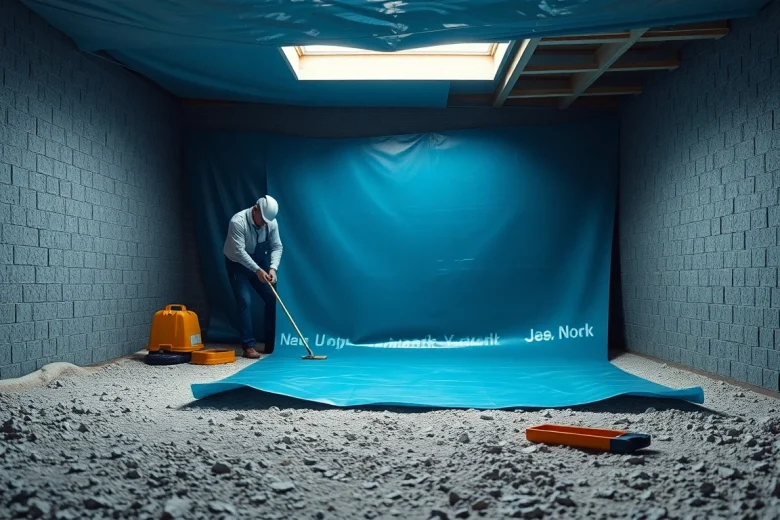
A vapor barrier is a material used to prevent moisture from passing through walls, ceilings, and floors, particularly in areas like crawl spaces and basements. Made from polyethylene plastic sheeting, vapor barriers serve as protective barriers that inhibit the flow of water vapor from the soil or surrounding environment into living spaces. This is crucial because excessive moisture can lead to various problems, including mold growth, structural damage, and increased energy costs.
Importance of Vapor Barrier Installation
The importance of vapor barrier installation cannot be overstated. Properly installed vapor barriers significantly enhance the energy efficiency of a home by reducing humidity levels, leading to better indoor air quality and comfort. Additionally, they protect wooden structures from rot and deterioration caused by moisture, thereby extending their lifespan. An effective vapor barrier must be strategically placed to create a continuous seal, which is best achieved through a professional Vapor Barrier Installation.
Common Materials Used
Vapor barriers can be made from various materials; however, the most common is polyethylene sheeting. This is available in different thicknesses, typically ranging from 6 to 20 mils. Thicker materials provide better protection but can also be more challenging to work with. Other materials may include foil-faced insulation, rubber membranes, and spray-on coatings, each offering unique benefits and applications depending on the environment and requirements.
Pre-Installation Preparations
Assessing Your Crawl Space
Before proceeding with vapor barrier installation, a thorough assessment of your crawl space must be conducted. Look for signs of moisture problems such as water pooling, damp surfaces, or musty odors. Evaluate the current state of your insulation, any drainage issues, and the overall condition of the area, including pest infestations or the presence of organic materials. This foundational step helps ensure that the vapor barrier will be effective in thwarting moisture intrusion.
Necessary Tools and Equipment
To install a vapor barrier efficiently, you will need specific tools and equipment. Essential tools include a utility knife for cutting the barrier, measuring tape, a marker, and a staple gun or adhesive for securing the barrier in place. Additionally, you may require a seam tape for reinforcing joints and an inspection shovel for clearing debris. Having all tools ready before you begin will facilitate a smoother installation process.
Preparing the Area Before Installation
Preparing the crawl space is crucial for the successful installation of a vapor barrier. Begin by thoroughly cleaning the area; remove any debris, old insulation, or organic materials that could retain moisture. If structural damage is present, such as crumbling foundations or wooden rot, make those repairs prior to installation. Additionally, consider installing a dehumidifier or sump pump if excess moisture is an ongoing problem to help optimize conditions before laying the barrier.
Step-by-Step Guide to Vapor Barrier Installation
Measuring and Cutting the Vapor Barrier
Once the area is prepared, the next step is measuring and cutting the vapor barrier material to size. Begin by measuring the dimensions of your crawl space, ensuring to account for corners and any obstructions. After acquiring these measurements, lay out the polyethylene sheeting and cut it to size, leaving a little extra material to allow for overlapping at seams and edges. Accurate measurements are critical to ensure that the barrier will completely cover the intended surface area.
Securing the Barrier in Place
With the vapor barrier cut to size, it’s time to secure it in place. Begin in one corner and gradually work your way across the crawl space. Use a staple gun to attach the barrier to wooden structural elements, making sure there are no gaps. For concrete surfaces, an adhesive can be used. Ensure the barrier is taut but not overstretched, as this can lead to tears or damage over time. Remember to extend the barrier slightly up the walls for a complete seal.
Dealing with Joints and Seams
When installing your vapor barrier, it is imperative to manage joints and seams effectively. Overlapping seams by a minimum of 12 inches will enhance the barrier’s integrity. Use UV-resistant seam tape to secure these overlaps, which will aid in preventing moisture from infiltrating through any gaps. Sealing these joints properly is essential in creating a solid barrier, ensuring longevity and effectiveness.
Post-Installation Considerations
Final Inspections and Adjustments
After the installation is complete, conducting a thorough inspection is necessary. Check for any areas where the barrier may have been improperly installed, such as bulges, loose edges, or unsealed seams. Make any adjustments at this stage, reinforcing areas as needed. A good inspection is crucial, as even small mistakes can lead to significant moisture issues down the line.
Maintaining Your Vapor Barrier
Maintaining your vapor barrier is essential for its longevity and effectiveness. Periodically inspect the area, especially after heavy rainfall or seasonal changes. Check for signs of damage, mold growth, or necessary adjustments caused by shifting soil or settling foundations. Keeping an eye on the moisture levels in your crawl space will help ensure that your vapor barrier continues performing optimally.
When to Seek Professional Help
If you encounter significant water issues, structural damage, or feel uncertain about your ability to properly install the vapor barrier, seeking professional help is advisable. Experts can provide a comprehensive assessment of your crawl space and recommend additional measures beyond vapor barrier installation, such as drainage systems or encapsulation strategies to safeguard against moisture damage.
FAQs About Vapor Barrier Installation
How Long Does Vapor Barrier Installation Take?
The time required for vapor barrier installation typically ranges from a few hours to a full day, depending on the size of the crawl space and the amount of preparation needed.
Can I Install a Vapor Barrier Myself?
Yes, many homeowners can install a vapor barrier themselves, provided they follow proper procedures and safety guidelines. However, professional assistance is recommended if you’re unsure.
What Happens If a Vapor Barrier Isn’t Installed?
Without a vapor barrier, moisture can seep into living spaces, leading to mold growth, wood rot, and increased energy costs due to disturbances in temperature regulation.
How Do I Know My Vapor Barrier is Working?
You can tell if your vapor barrier is working by monitoring moisture levels in your crawl space. A significant decrease in humidity and absence of mold are good indicators.
Are There Alternative Solutions to Vapor Barriers?
Yes, alternatives include drainage systems and dehumidifiers. Combining these options may provide a comprehensive moisture control strategy.